
How to Create a Transparent Gradient in Canva

Have you ever wished you could have an overlay that gently fades from one color to another using Canva? You have?! Well, you are in the right place, my friend. Because that’s what today’s post is all about. Let’s get it.
Here’s what my finished design looked like:

Canva has added awesome new text effects, but sometimes Drop Shadow just won’t do. Adding a gradient behind your text is a great way to create contrast and make it stand out from the background of your graphic.
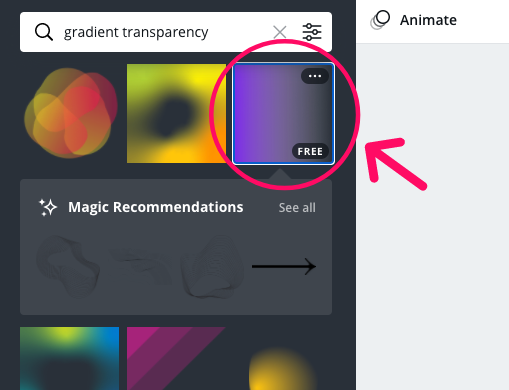
First, head over to Canva and create a new design. Any dimension you’d like. Then click the “Elements” tab in the toolbar and search for “Gradient Transparency”. Choose any transparency your heart desires. The one pictured below is great because it goes from solid to transparent.
Add an image or video to your design and then drag the gradient on top of it. Rotate the gradient as needed.
Use the Color Palette to change the colors and match your brand or design.
Add any text or elements on top and shaBAM! Youz lookin good frannn 🥳
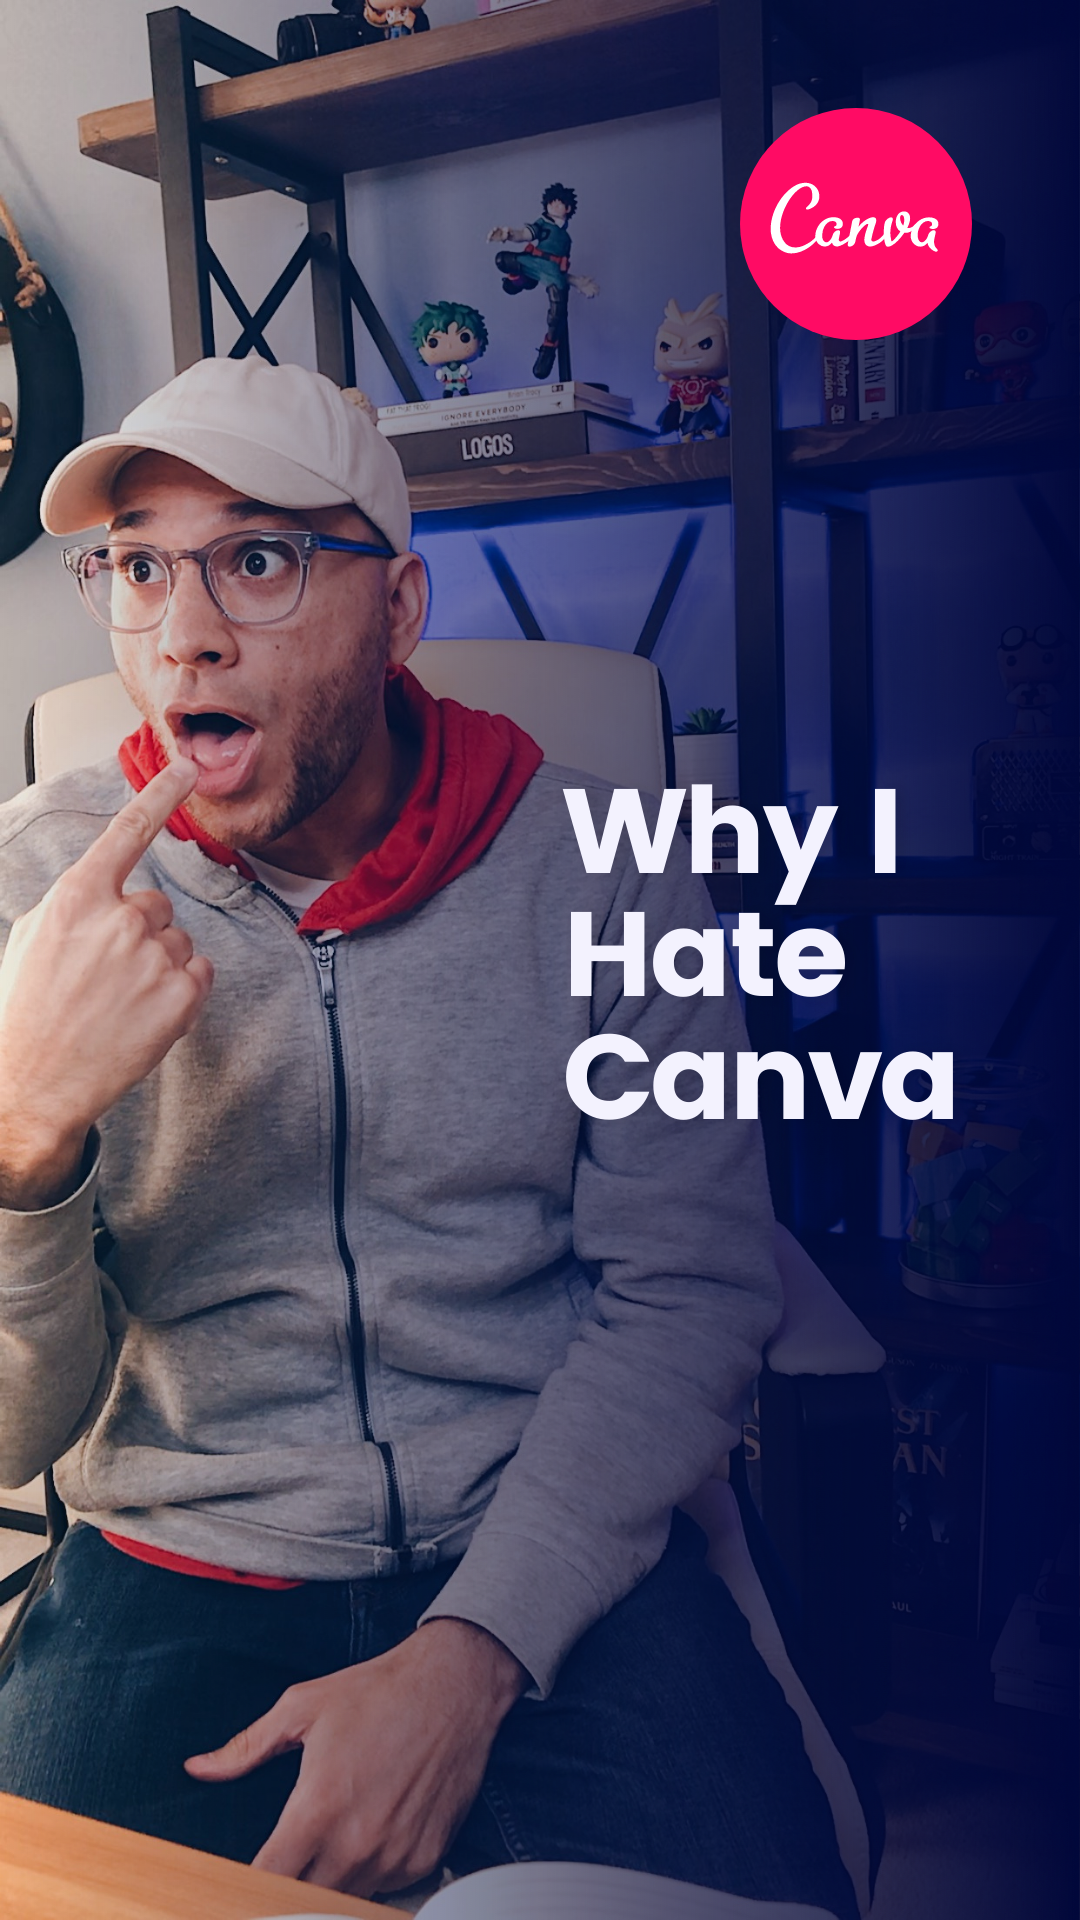
Below is another example of where I used this same gradient for my Reels Cover in a Reel this week. Click here if you’d like to watch that reel and discover all of the reasons you shouldn’t use Canva.
When it’s time to download your graphic, simply choose “Download” and select the appropriate format. If it’s a video then you’ll download as an .MP4 or .GIF (no audio). If there is no motion or animation then a .PNG will do the trick.
There you have it! Now you can look supa fly with your solid to transparent gradients. If you like tips like this, be sure to follow along over on Instagram so you don’t miss the party.